Solving Systems of Equations by Substitution

Solving Systems of Equations is one of my absolute favorite topics of Algebra to teach! Teaching all the different methods on how to solve systems of equations has always proven one thing: Students always seem to struggle with solving systems of equations using substitution.
Why substitution? I think because it is the first time students truly have to manipulate more than one equation at the same time followed by several equations that involve substitution and solving.
For example, take Solving Systems of Equations by Graphing. When students are asked to solve systems of equations by graphing, typically both equations are already in slope-intercept form: y = mx + b, then all they have to do is graph them using a t-chart (table) or the easy method (graph y-intercept first and then the slope).
If they are in Standard Form: Ax + By = C, then students have to manipulate the equations to rearrange them so that they are in slope-intercept form, but then they just have to graph after that, find the point of intersection (if there is one) and ta-da they are finished.
When you start teaching students how to solve by substitution, they truly get confused on why you can just set equations equal to each other if they are in slope-intercept form or why you have to solve for either variable x or y, to do the substitution.
It is just too much for some students all at once! Mostly because they may lack the skills to solve equations in general, let alone literal equations, let alone 2 equations that then result in an ordered pair!
Even just writing all of that made me imagine just how our students feel!
Before I created my hands-on activity, I did what I did in all of my other years of teaching (17 to be exact!) when introducing this concept, the good old: I do, we do, you do method! The famous process of teaching a new mathematics lesson along with steps and processes on how to solve systems of equations by substitution:
Steps to Solving Systems of Equations by Substitution
When should I use it?
The best time to use the substitution method is if one of the variables in either equation has a coefficient of 1 or -1.
Step 1: Solve one equation for one of the variables.
Step 2: Substitute the resulting expression into the other equation to replace the variable. Then solve the equation.
Step 3: Substitute to solve for the other variable.
Step 4: Write the solution as an ordered pair (x, y) and check your answer.
Example: x – y = 13
4x + 2y = 1
When it came time for the students to “Try these problems” (the you do part of the process) I think every hand in my classroom was raised! Mostly due to the fact of pure confusion on what to do first!
Now many of you may not know that I teach in a very small rural school in Pennsylvania, and even though there were only 10 hands that were raised, we are talking about every math ability that there is, from learning support to gifted, they all reside in one class. So I made it my mission to create an activity that would benefit all of them. So it doesn’t matter what ability level you teach, this is a great activity for differentiated instruction in your classroom.
Solving Systems of Equations Activity
So with all of that being said, I brain-stormed a way that students could physically see how they were solving systems of equations by substitution using a hands-on activity. This activity is the only activity you need to reiterate how to solve by substitution.

In this hands-on activity, students will physically cut out and glue equations onto a work mat, so they can literally see the substitution process happening.
There are 2 versions of this activity and all students need are scissors and glue.
In Version A: Students are given 3 systems of equations all in slope-intercept form with a work mat.
Directions for Version A:
Step 1: Cut out the problems on the dotted line so you have 3 individual problems.
Step 2: Next you will cut out all the pieces of equation 1 and equation 2 in the boxes. Put all the pieces on your work mat by lining up the equations with the equal signs. Be careful not to mix up your equations.
You will then take the first equation and remove the y and the equals sign and substitute it into the second equation by replacing the y. You can now glue these down.
You will then have 1 equation with only 1 equals sign.
Step 3: Finish solving the equation for the given variable x.
You will then need to solve for y if it isn’t already solved for by substituting again.
Step 4: Label your answer as (x, y).
Step 5: Check your answer by graphing!
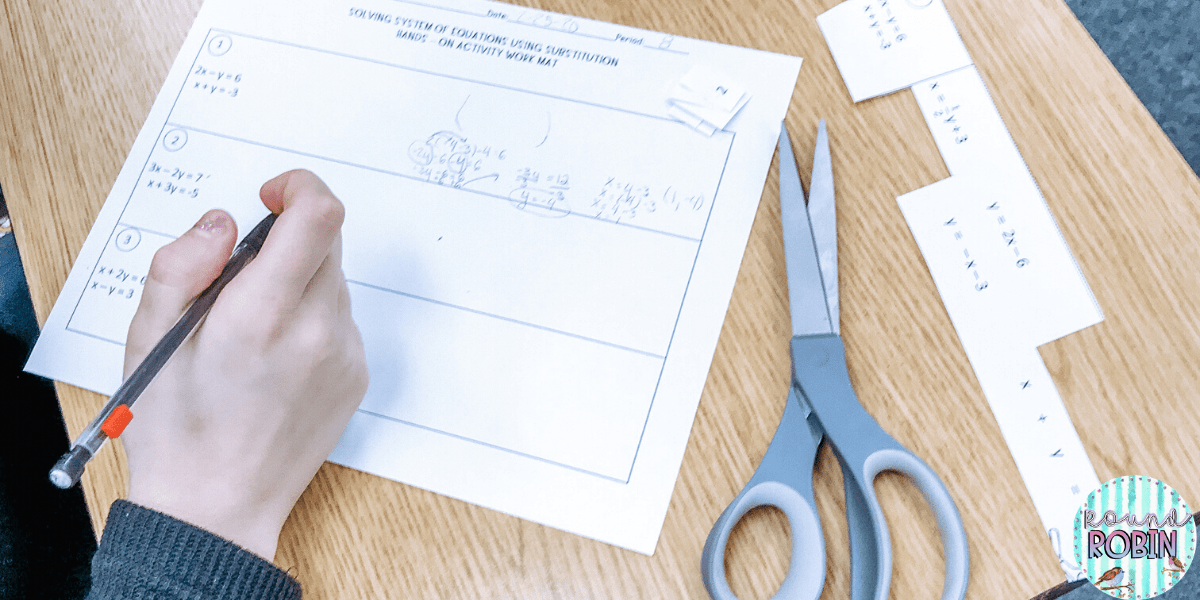
In Version B: Students are given 3 problems in standard form, but all of the equations have already been solved for either x or y and they are also given a work mat.
Directions for Version B:
Step 1: Cut out the problems on the dotted line so you have 3 individual problems. Pick an equation to solve for: solve for x or solve for y.
Hint: Remember to pick the equation with the variable that has a coefficient of 1. Solve and then choose and cut out the correct equation that matches your answer.
Step 2: Next you will insert the equation you chose into the other equation that you didn’t choose (the one you didn’t solve for in step 1). Cut out the individual pieces of that equation.
Step 3: Put the pieces on your work mat. You will then look at the equation you cut out from step 1 and substitute it in for the correct variable: either x or y. Before you substitute it into the other equation you will need to cut off the x = or y = part. Glue these down.
Step 4: Finish solving the equation for the given variable. After you have 1 variable you will then go back up to the equation you chose in step 1 and solve for the other variable. Label your answer as (x, y).
Step 5: Check your work by substituting both x and y into the original problems.

After I had already used this activity with my class I realized that it would’ve been much easier if I had bigger pieces that I could use to put on my board since I don’t have a document camera. So if you are like me and love to write on the white-board, nothing better than a fresh expo, and like to use magnets, then the bigger pieces of the problems are right up your alley!
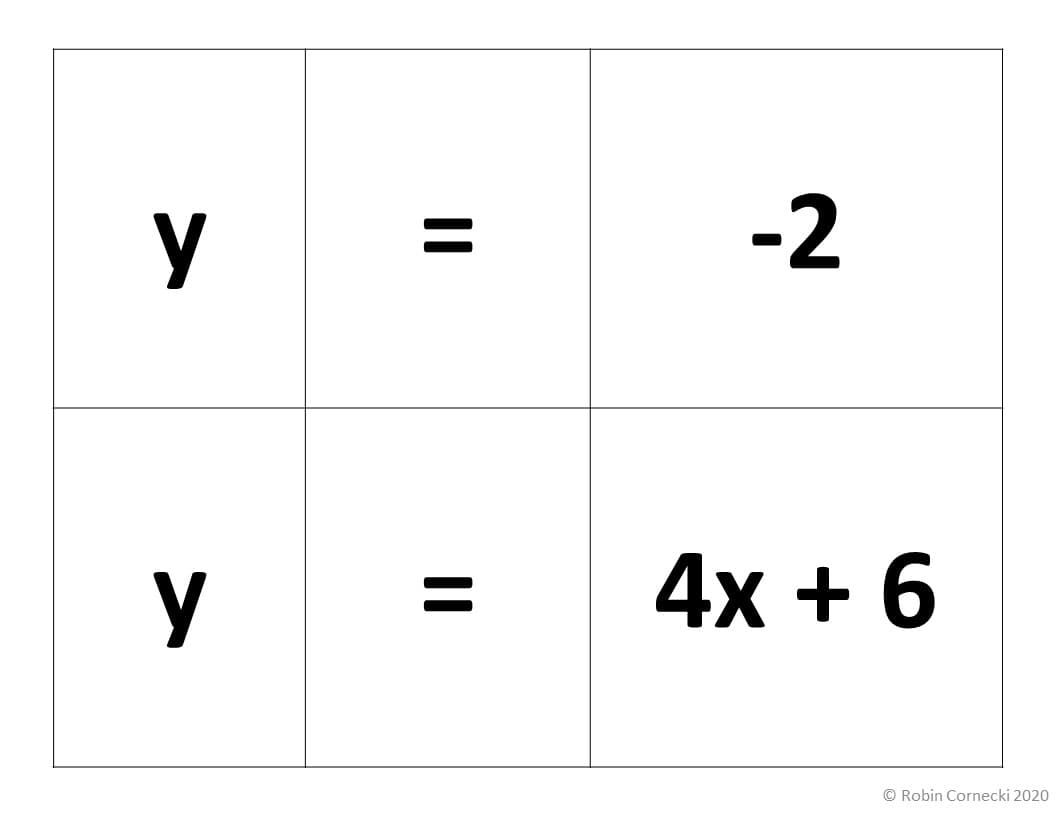
You can’t tell but there are tiny pieces from the activity under my magnets sticking out. This is why I wrote the problem out on the board so my students could see it. That is why I decided to make the bigger pieces above!
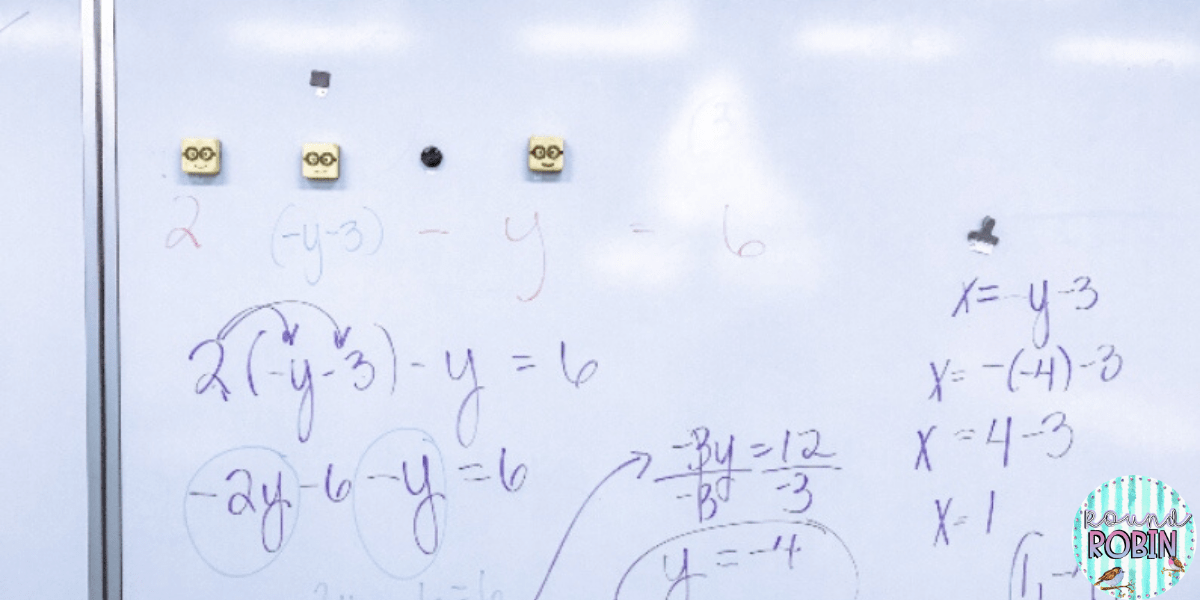
My students finally had the aha moment after doing this activity! Just lecturing and giving notes didn’t help them until they could physically cut them out and rearrange them on their own. It also helped that I had already solved for either variable ahead of time so that they didn’t get caught up in that step of the process. They still needed to pick an equation and solve for either x or y but having it done for them, they just had to “match” their answer with what was on their paper.
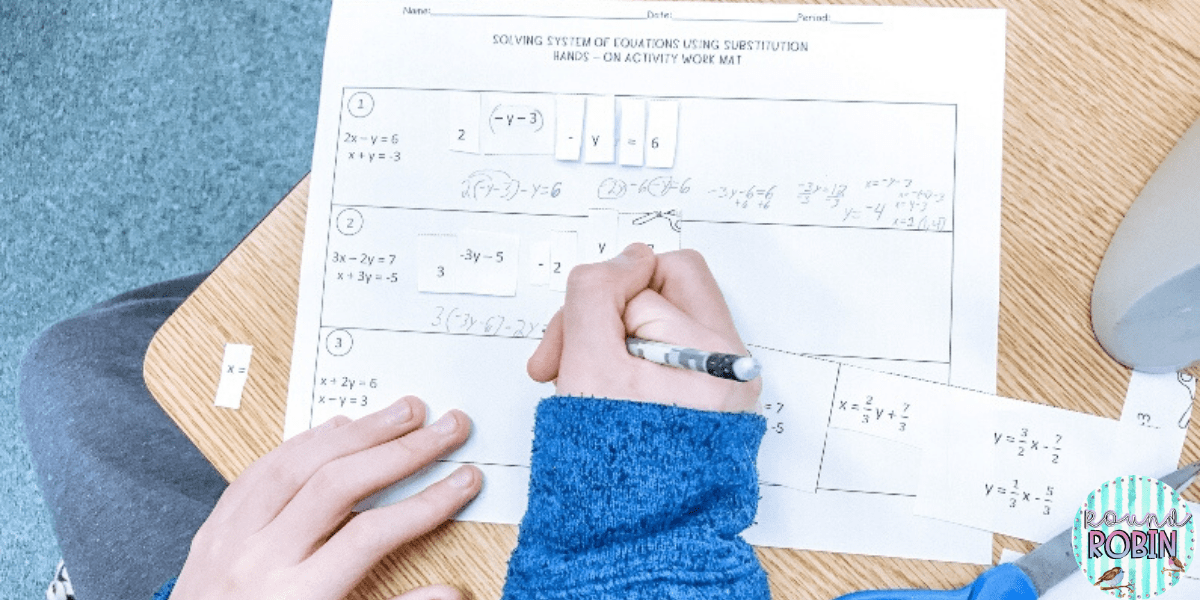
Overall, my students enjoyed the activity and it all made sense to them! Activities like these are what keeps my students motivated and on task for the entire class period. Do you struggle with keeping students motivated in your math class?
Want more tips and suggestions: Check out my FREE top secrets workbook today!
Make sure to also head over to my teaching resources page to check out all of the resources available. Just click on the image and it takes you right to my Teachers Pay Teachers store!
Talk to you soon!
Love, Robin

Latest posts by Robin Cornecki (see all)
- The #1 method for finding slope without using a formula! - April 25, 2023
- Here’s a Quick Way to Convert Percents to Fractions and Decimals. - July 21, 2022
- How to use the Four-Function Calculator for the Praxis Core Math Test. - April 23, 2022

